Here's How Kitchen Planning Works
Häcker produces custom-made, made-to-order kitchens. The process of creating your kitchen involves three steps: You find a Häcker dealer near you, work together to plan the design, materials, and features—the dealer translates your wishes into a kitchen plan—and finally, the kitchen is professionally installed. You’ll discuss the delivery time directly with your dealer.
Our most important tip to start with: Work your way from the big picture to the details. First, the layout, shape, and workflow; then storage and lighting; and finally, cabinet fronts, colors, and handles. This way, your decisions build on one another in a logical sequence.
Are you planning a new kitchen or renovating? Then the kitchen should be included in the planning before electrical and plumbing lines are installed. That way, outlets, connections, and light fixtures will be located exactly where the kitchen needs them later on. Just take your time.

Step 1: Survey the room and gather your preferences
Start by taking measurements. Measure the lengths of the walls and the ceiling height, and note the locations of windows, doors, radiators, and existing connections. Photos taken from multiple angles will be helpful later during the consultation.
Your habits are just as important:
- Who cooks, how often, and for how many people?
- Will the kitchen also be used for eating, working, or entertaining guests?
- Which appliances should be included, and which ones will you keep?
- What bothers you about your current kitchen, and what do you absolutely want to keep?
Also, collect pictures of kitchens you like—and of those you don’t. Both will quickly show your specialist dealer what you’re looking for. And set a budget that you’ll mention during your first consultation: that way, your specialist dealer can plan appropriately from the start.
Step 2: Find the Right Kitchen Layout
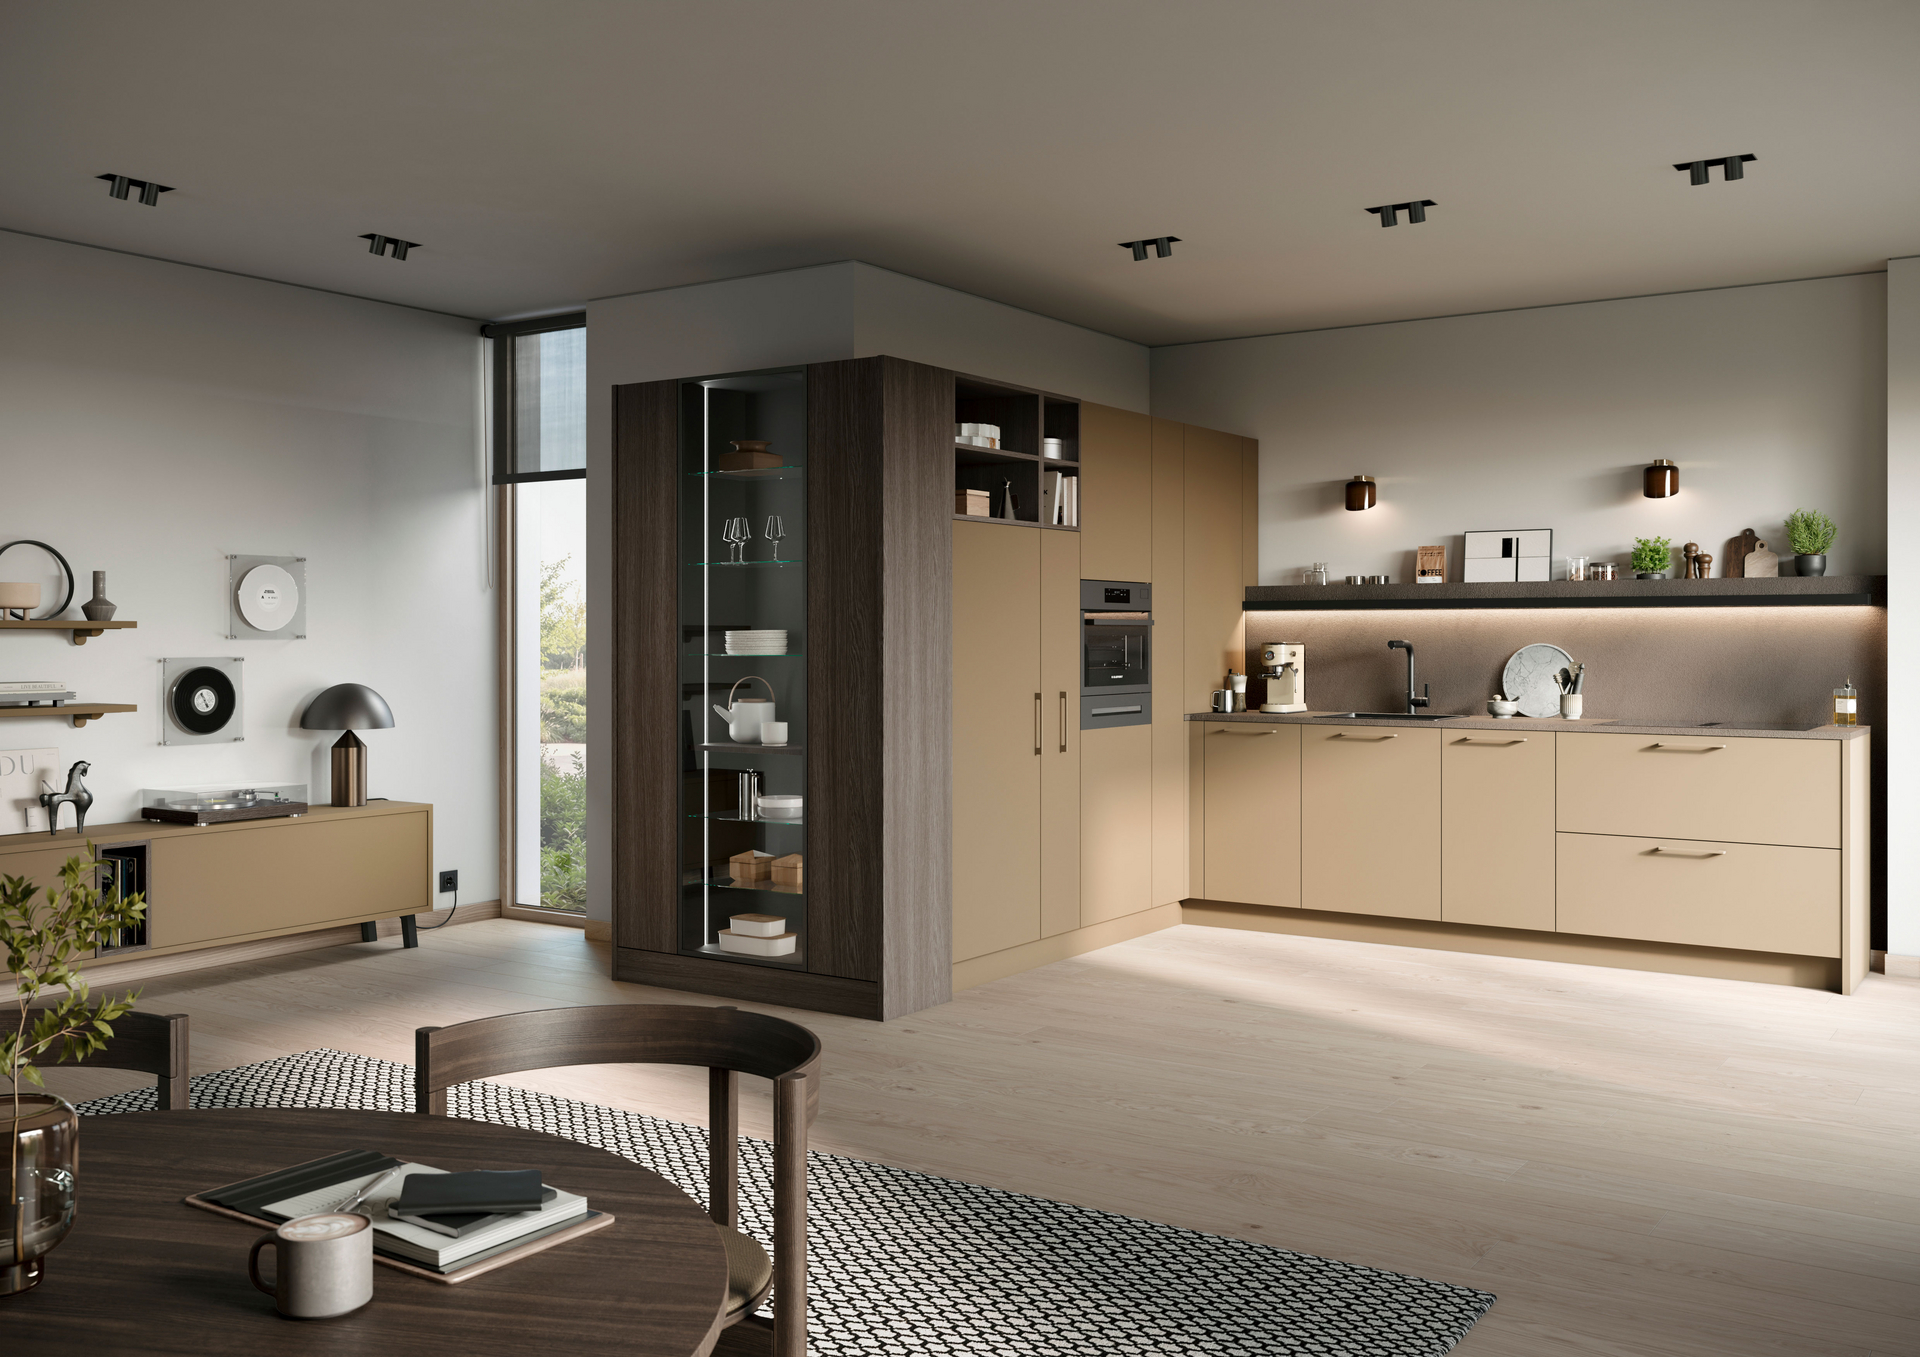
The kitchen layout is the foundation of the entire planning process. It determines how well you use the space and how short your walking distances are in everyday life. The right layout depends on the floor plan, windows, doors, and your habits. Our article on kitchenlayouts provides a detailed overview.
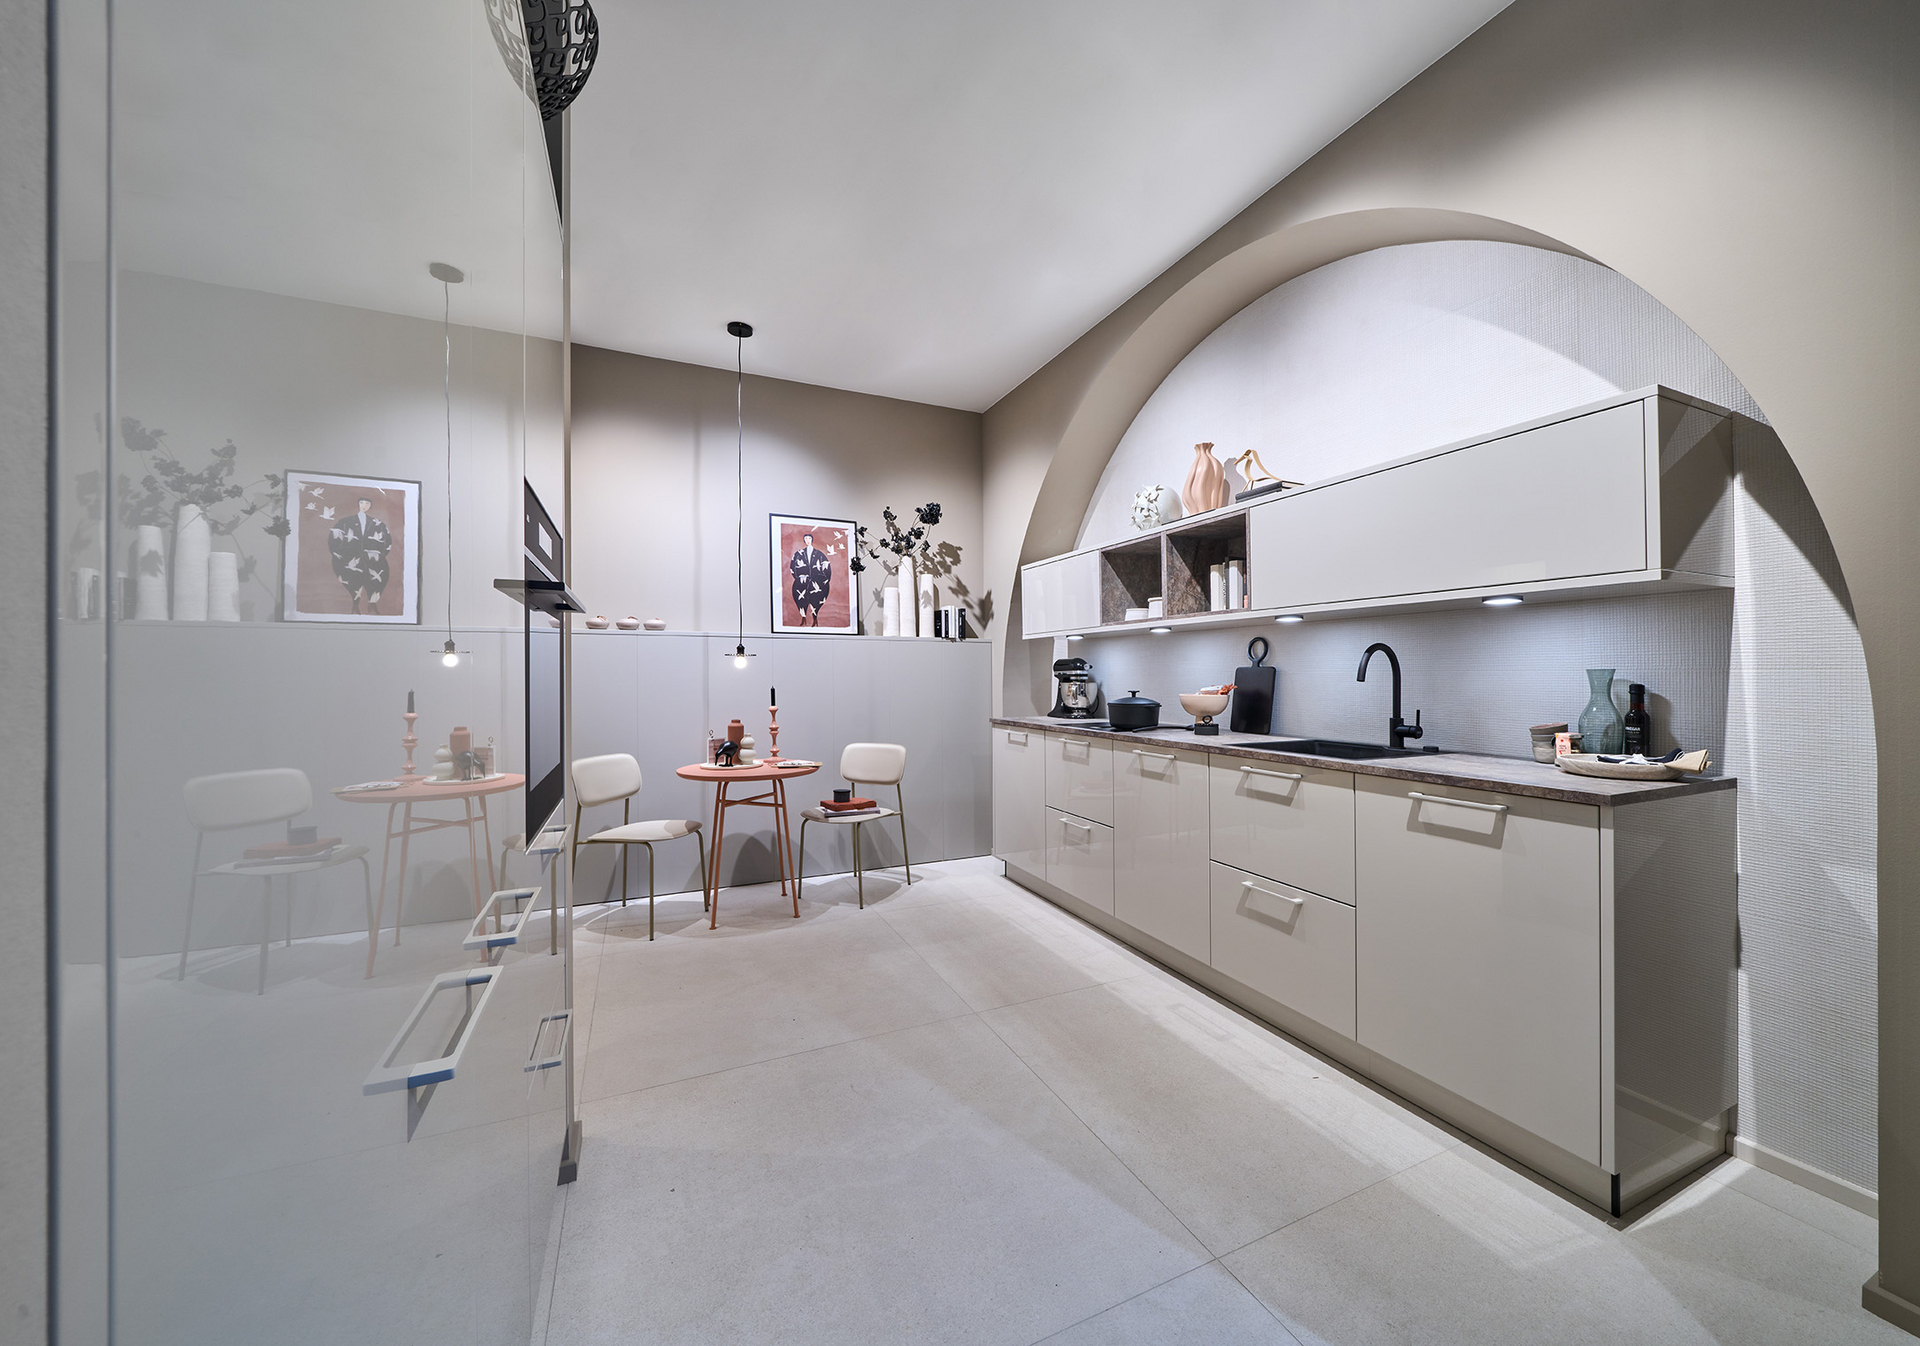
Kitchenette and double-row kitchen
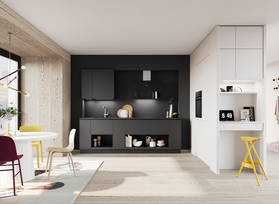
In a kitchenette, all the units are arranged along one wall. The Modern Kitchen Consortium (AMK) calls this a good solution for small rooms and apartments and recommends including tall cabinets to make use of vertical space. The double-row kitchen distributes the work areas across two opposing rows; in open floor plans, the second row can also serve as a room divider. According to AMK, there should be at least 120 centimeters of free space between the rows.
Kitchen with a counter
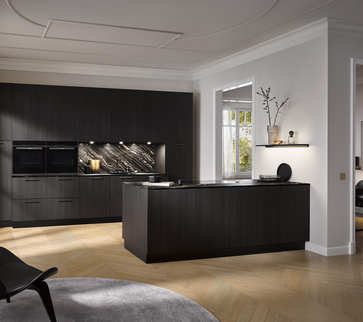
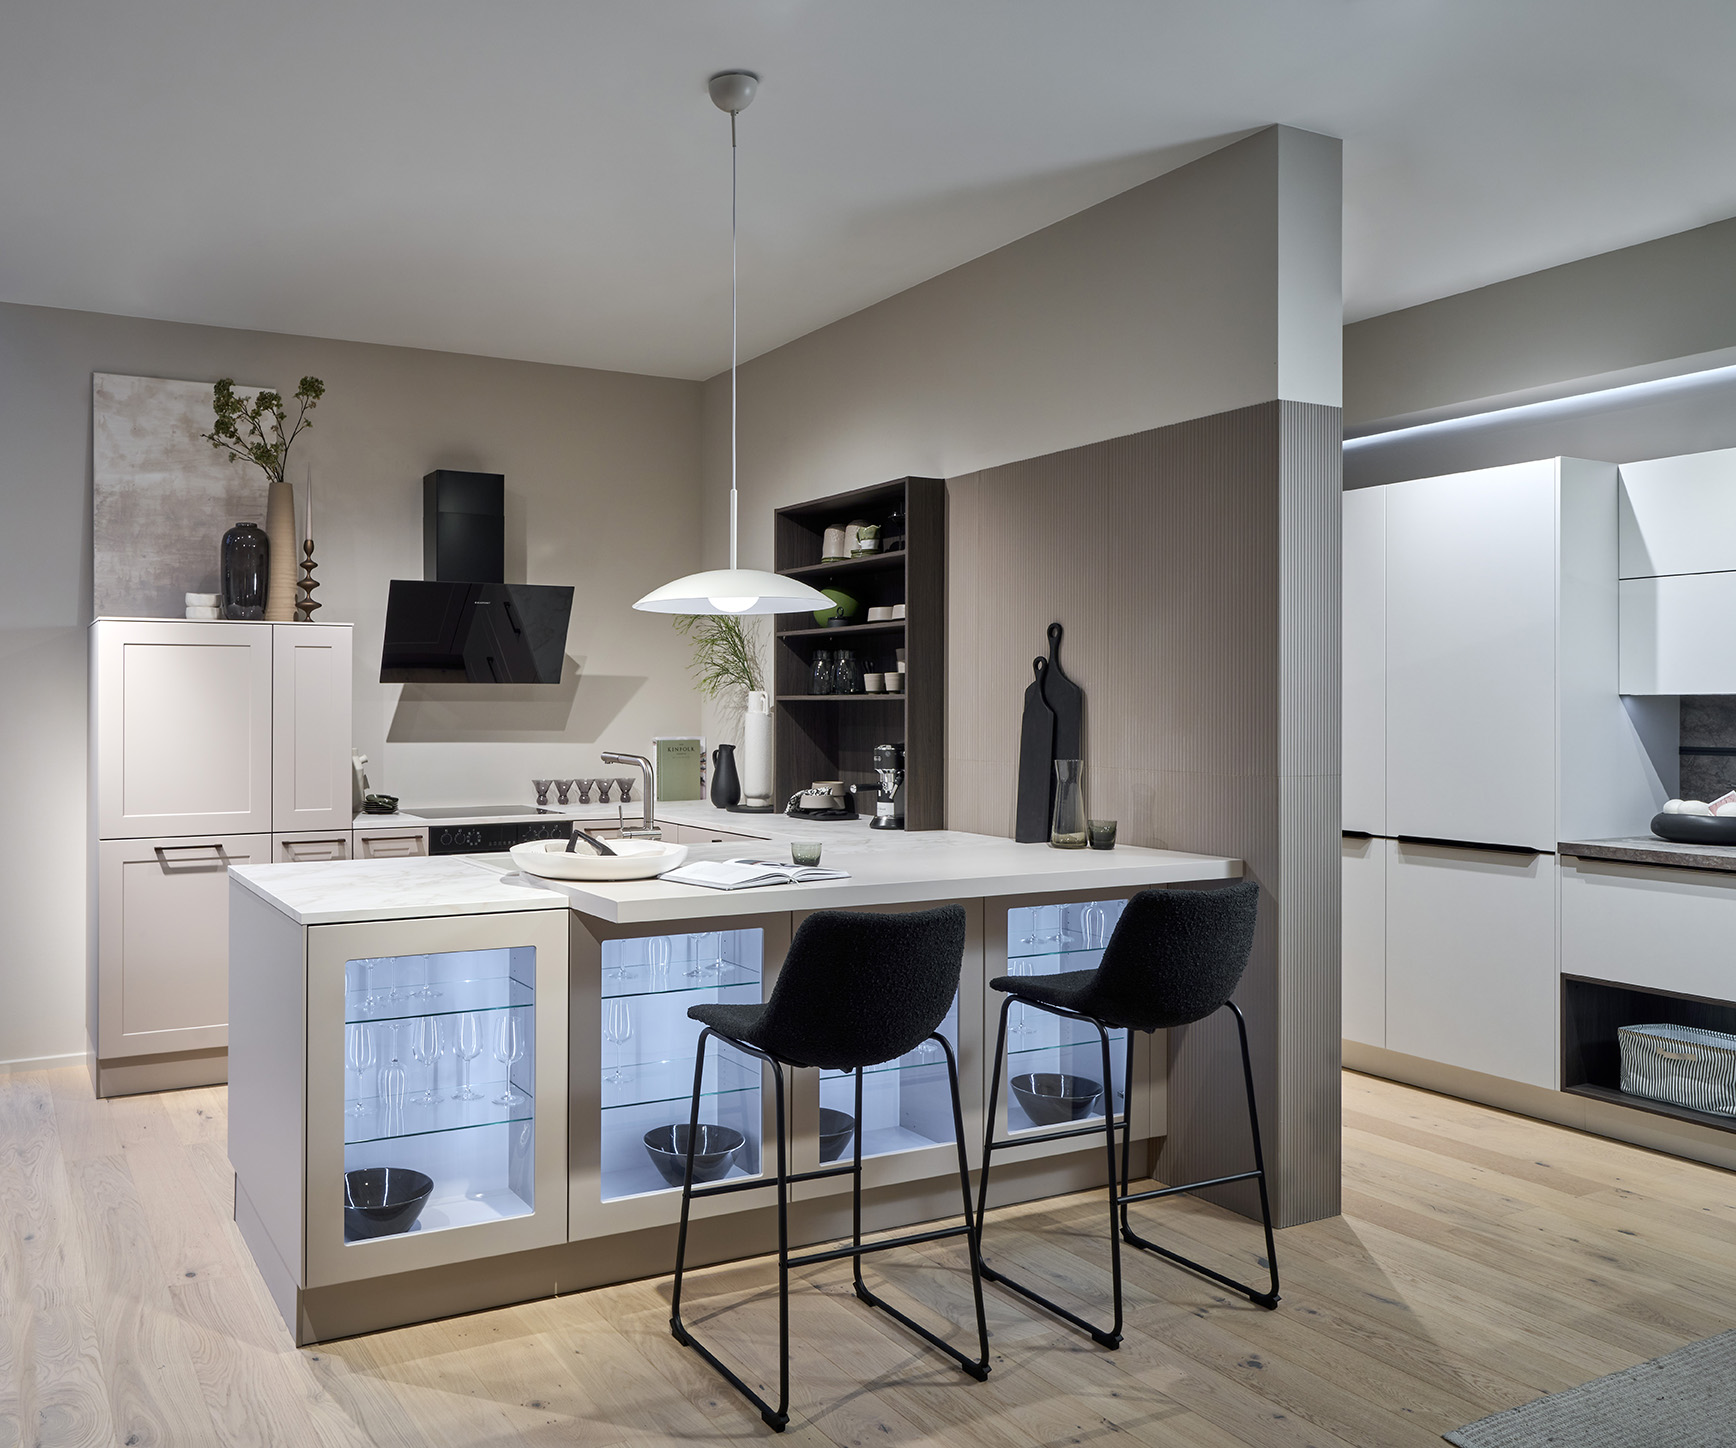
A counter or peninsula connects the kitchen to the living area without requiring the counter to be open on all sides. It provides a place to sit for a quick breakfast and additional storage space, such as in lighted glass cabinets under the countertop.
L-shape, U-shape, and G-shape
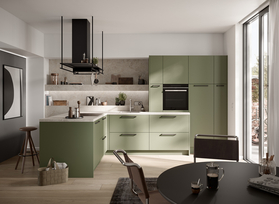
The L-shape makes use of two adjacent walls. AMK describes it as a space-saving solution that still offers plenty of storage space—especially when the corner is utilized with a suitable cabinet solution. The U-shape spans three walls and creates a large work and storage area. With an additional peninsula, it becomes a G-shape; according to AMK, this layout is well-suited for an open-concept design that flows into the living area.
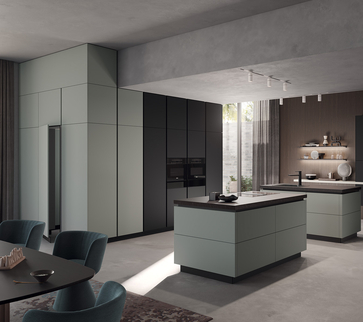
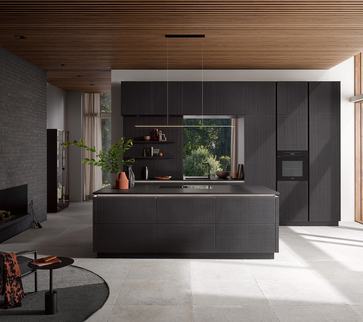
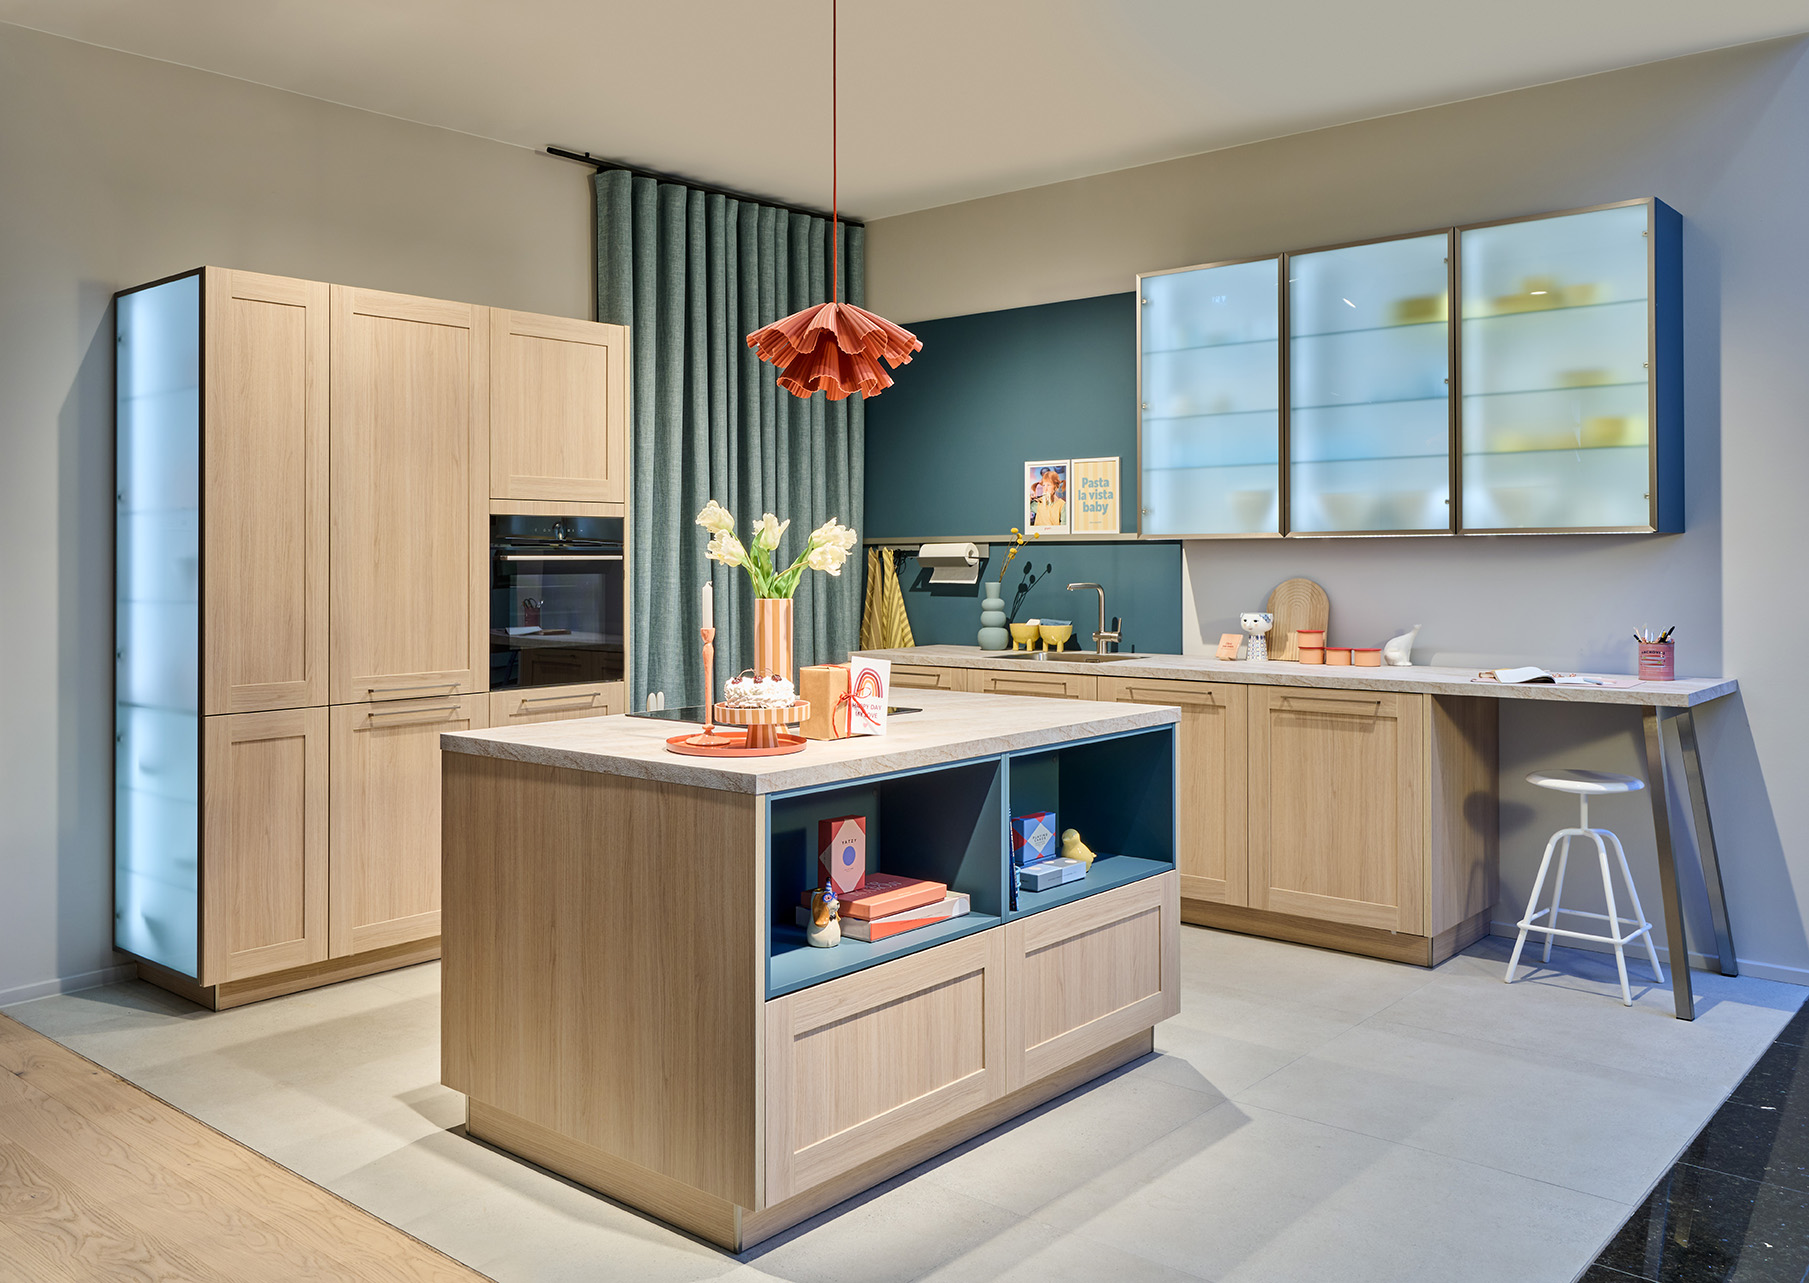
Kitchen island
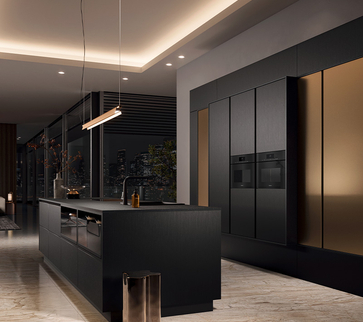
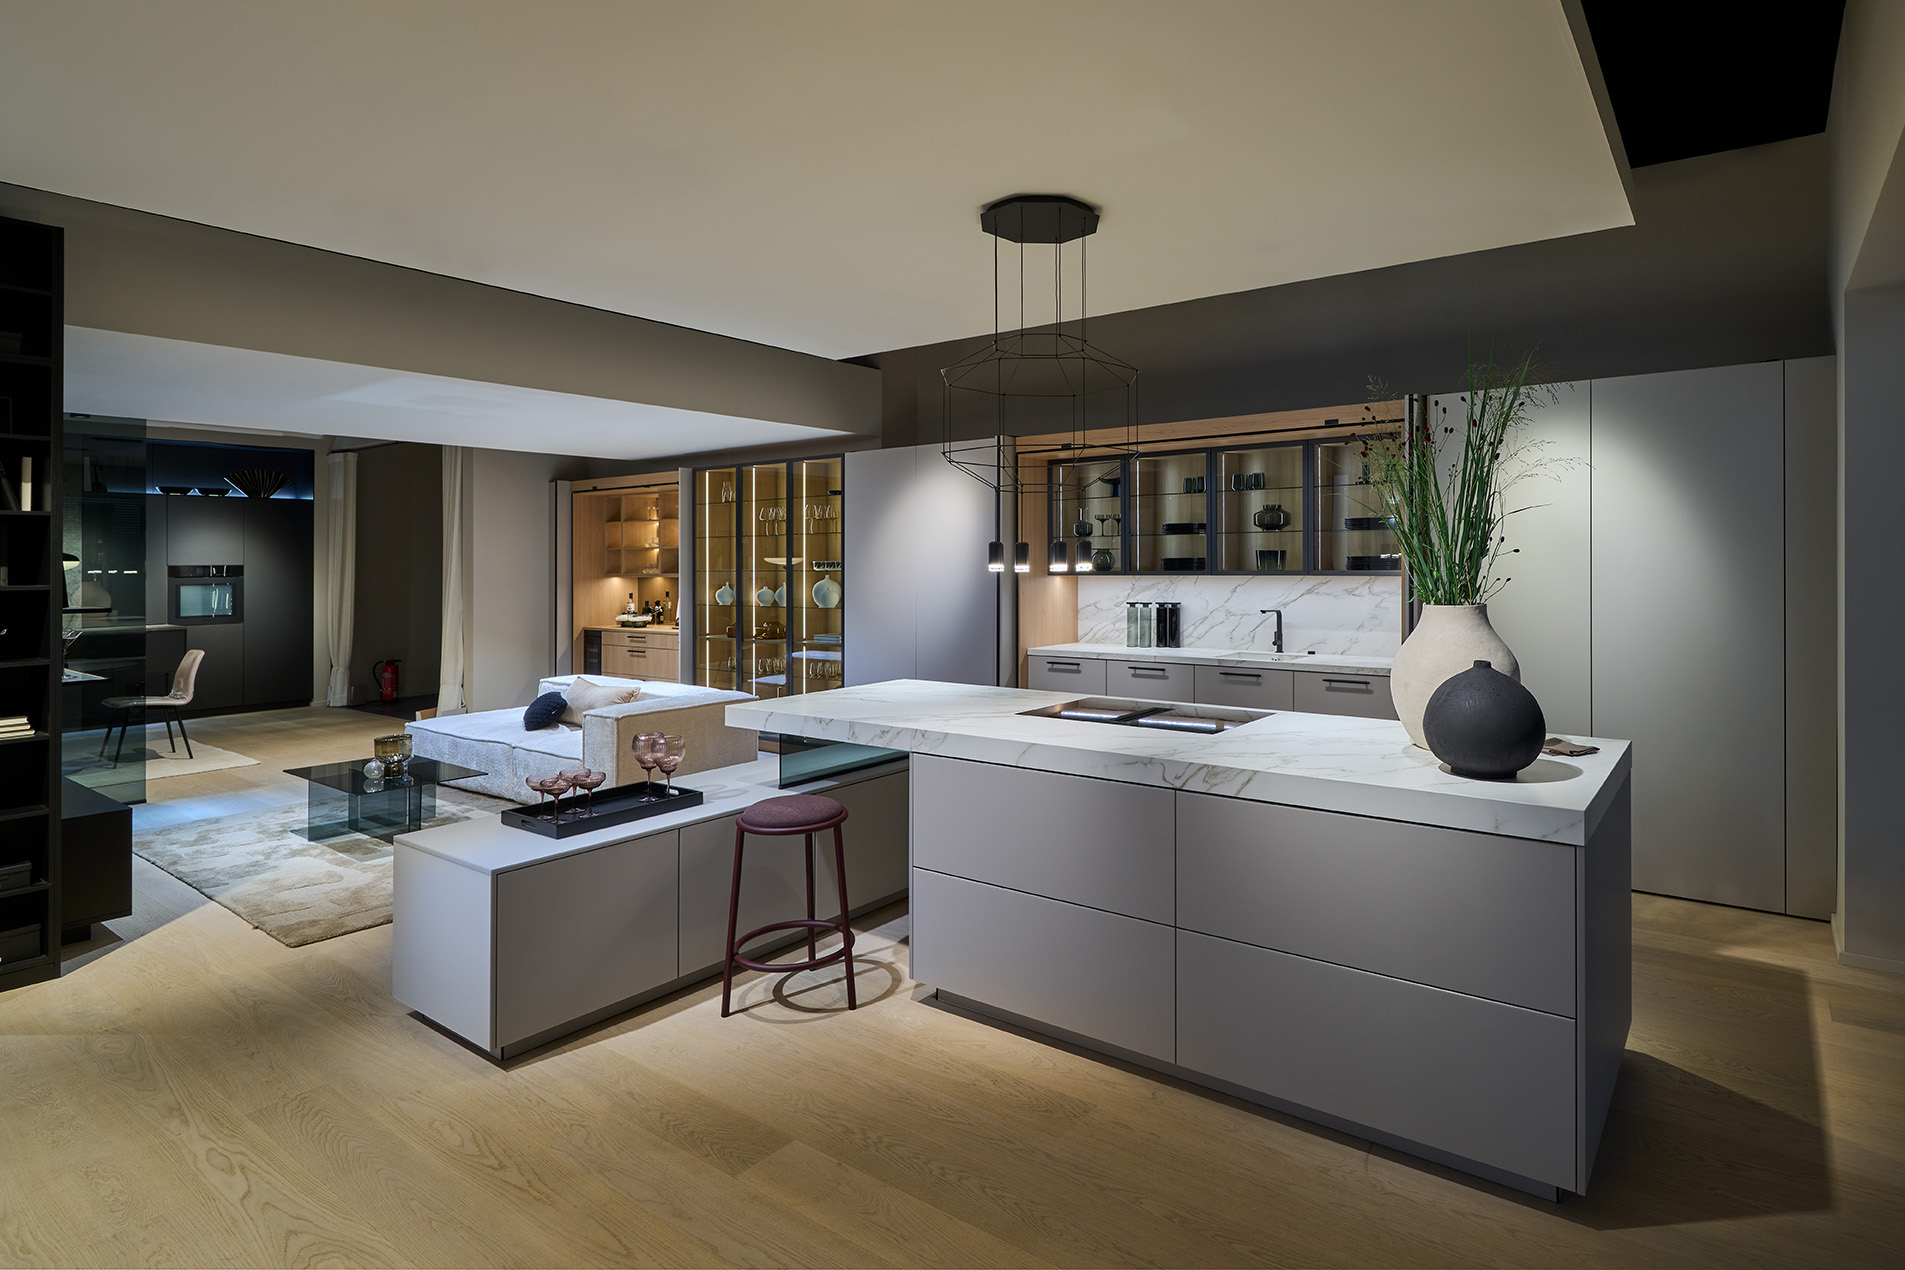
The kitchen island serves as a work surface, storage space, and gathering place all at once. However, it requires space: The AMK recommends a minimum area of 15 square meters and a minimum clearance of 120 centimeters around the island from the surrounding cabinets. Our article on kitchen islands shows you how to plan dimensions, seating, and appliances for your island.
Step 3: Plan Workflows and Ergonomics
A well-designed kitchen saves you trips back and forth every day and is easier on your back. These four points are key.
Five Zones for Short Distances
The AMK divides the kitchen into five zones: stocking, storage, washing, preparation, and cooking and baking. When arranged thoughtfully, food, dishes, and cookware are located right where they’re needed. For example, dishes and cutlery belong near the sink and dishwasher, while spices, oil, and knives belong in the preparation zone. The preparation area is your main workspace—the AMK recommends a width of at least 90 centimeters for this.
The Right Work Height
No one should have to hunch over while chopping. According to the AMK’s recommendation, the countertop should be about 10 to 15 centimeters below your elbow height. The cooktop can be lower because the rim of the pot determines the actual working height there.
At Häcker, the work height can be easily customized to suit you. In the concept130 series, base cabinets are available in 71.5 cm and 78 cm cabinet heights, with an 84.5 cm option as a complement. In the systemat series, base cabinets are available in three heights, wall cabinets in six, and tall cabinets in eight. Combined with the base and countertop, this determines your personalized work height.
Appliances at Reach Height
Having the oven and dishwasher at reachable height saves you from having to bend down every time you take out a baking sheet or a plate. If there’s only room for one appliance installed high up, AMK recommends placing the one you use most often there.
Enough room to move
At least 120 centimeters should remain free between opposing rows and around an island. When planning, also pay attention to where doors and drawers open: an oven door that butts up against the island, for example, won’t be noticed until the kitchen is finished. Simply enjoy everyday life more.


Step 4: Plan Your Storage Space Carefully
Plenty of storage space isn't much help if it's hard to reach. These solutions make the contents of your cabinets easy to see:
- Drawers instead of doors: You can see into drawers from above. Interior organizers, cutlery inserts, or additional drawers within the pull-out ensure order all the way to the back.
- Make use of corners: With the LeMans corner solution, the pull-outs can be swiveled forward by hand—and independently of one another—after opening the door.
- Space for kitchen appliances: The Qanto, located in the corner of the countertop, rises at the push of a button, complete with a power supply—the perfect spot for a Thermomix, espresso machine, or bread maker.
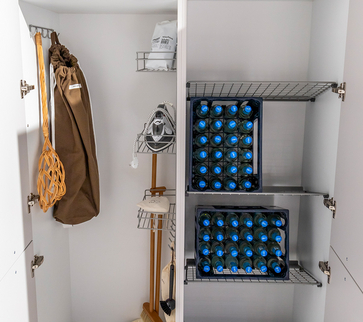
- Storing supplies in a tall cabinet: The apothecary cabinet is a narrow, floor-to-ceiling pull-out that can be accessed from both sides. With the tandem swing-out pull-out, the shelves swing out with the door, placing the entire contents right in front of you.
- Think vertically: Häcker offers tall cabinets up to 234 centimeters in height.
- Think about bulky items: There are dedicated cabinet solutions for baking sheets, storage containers, or beverage crates.
Find more ideas in our articles on apothecary cabinets, corner cabinets in the kitchen, and kitchen organization.
Tip: Near the dining table, plan a spot for the items you’ll need there—napkins, games, and the kids’ art supplies. That way, everything has its own designated spot within easy reach. Simply have more space.
Step 5: Plan the Lighting
Lighting plays a key role in determining whether you can see well enough on the countertop and whether you’ll want to linger in the kitchen in the evening. That’s why you should plan for three levels of lighting: general lighting for the room, task lighting focused on the countertop, cooktop, and sink, and accent lighting to set the mood. For the countertop, licht.de—the industry initiative of the lighting sector—recommends 500 to 650 lux.
Important for the schedule: Illuminated cove lighting, shelves, and under-cabinet lights can be controlled—depending on the model—via a light switch, a remote control, or your smart home system—this depends on the outlet layout in the room. That’s why lighting should be addressed early in the planning discussion. Our guide to kitchen lighting shows which light colors work best where and what types of fixtures are available.
Step 6: Choose cabinet fronts, colors, and countertops
Only once the layout, workflow, and storage space are finalized do we move on to the aesthetics. The cabinet fronts determine the look of your kitchen. Here are the materials available from Häcker:
- Lacquer: matte or glossy, smooth or with a framed front. With concept130, lacquer has been part of the lineup from the very beginning. For select matte lacquered fronts from systemat, including AV 6000 and AV 5065, there are over 4,000 colors to choose from in the NCS, RAL Classic, and RAL Design System Plus color systems.
- Wood-look finishes: Designs such as DAVOS Fine Oak or TESSIN Walnut bring the look and feel of wood into the kitchen.
- Laminate: for example, AURA in solid colors or ATRIUM with a granite look.
- Real wood veneer and stone veneer: real wood and real stone, processed into wafer-thin veneers.
- Polymer glass, linoleum, and metallic lacquer: surfaces with their own unique character, ranging from matte to metallic sheen.
Our article on colorful kitchens shows how color can transform your kitchen.
The countertop is available in all finishes in 25- and 40-millimeter thicknesses; open shelves are also available in the countertop color. Always view the cabinet fronts, countertop, and handles together—ideally as samples at your local dealer and under the lighting conditions that will later prevail in your kitchen.
Step 7: Adjust the connections and the range hood
Work with your retailer to determine where the electrical, water, and exhaust vent connections need to be located, and provide this information to the electrician and plumber before the tiling begins. Include the following items on the list:
- Electrical connections for the cooktop and oven at their planned locations, according to the specifications of the selected appliances
- Sufficient outlets above the countertop and, if work will be done there, in the island
- Power for solutions such as the Qanto or lighted cabinets
- Water and drain connections at the sink, including the dishwasher
- Wiring, switches, and dimmers for the lighting
- Exhaust vent to the outside or space for recirculating mode

Which range hood is right for me?
When it comes to range hoods, there are several equally suitable options that differ in appearance and installation:
- Wall-mounted or island hood: It hangs over the cooktop and becomes a design element in its own right.
- Cooktop with integrated range hood: The range hood is recessed into the cooktop, leaving the view above the island unobstructed. Our article on cooktop range hoods explains how this works.
- Ceiling-mounted range hood: It’s recessed into the ceiling and keeps the space above the island unobstructed. Learn more in our article on ceiling-mounted range hoods.
Which solution is right for you depends on the floor plan, the ceiling height, and whether exhaust air can be vented outside or if a recirculating system is planned.
Checklist: Things to Determine Before Placing an Order
Before placing your order, go over the plan one more time using these questions:
- Is there enough continuous counter space between the sink and the cooktop—at least 90 centimeters, according to AMK?
- Is there a place next to the oven and cooktop to set down hot baking sheets and pots?
- Are there enough outlets for a kettle, coffee maker, food processor, and chargers?
- Is the corner designed with a suitable pull-out?
- Do the doors and pull-outs interfere with each other when two are open at the same time?
- Is there a designated spot for recycling, for example, under the sink?
- Will the layout still work if things change in the coming years—children, working from home, guests?
Prepare Well for Your Consultation
The better prepared you are for the appointment, the more detailed the initial plan will be. Bring whatever you have—it doesn’t have to be complete:
- a floor plan with dimensions, windows, doors, radiators, and ceiling height
- Photos of the room and the locations of existing utility connections
- Pictures of kitchens you like and ones you don’t like
- a list of appliances you’d like to keep
- a brief description of your cooking habits and your budget
You can create an initial design yourself in advance. Häcker’s kitchenplanner runs for free and without registration in your browser, on a PC, tablet, or smartphone. You can save up to three designs, print them out, and refine them together with a Häcker specialty retailer.
Conclusion: From the Big Picture to the Details
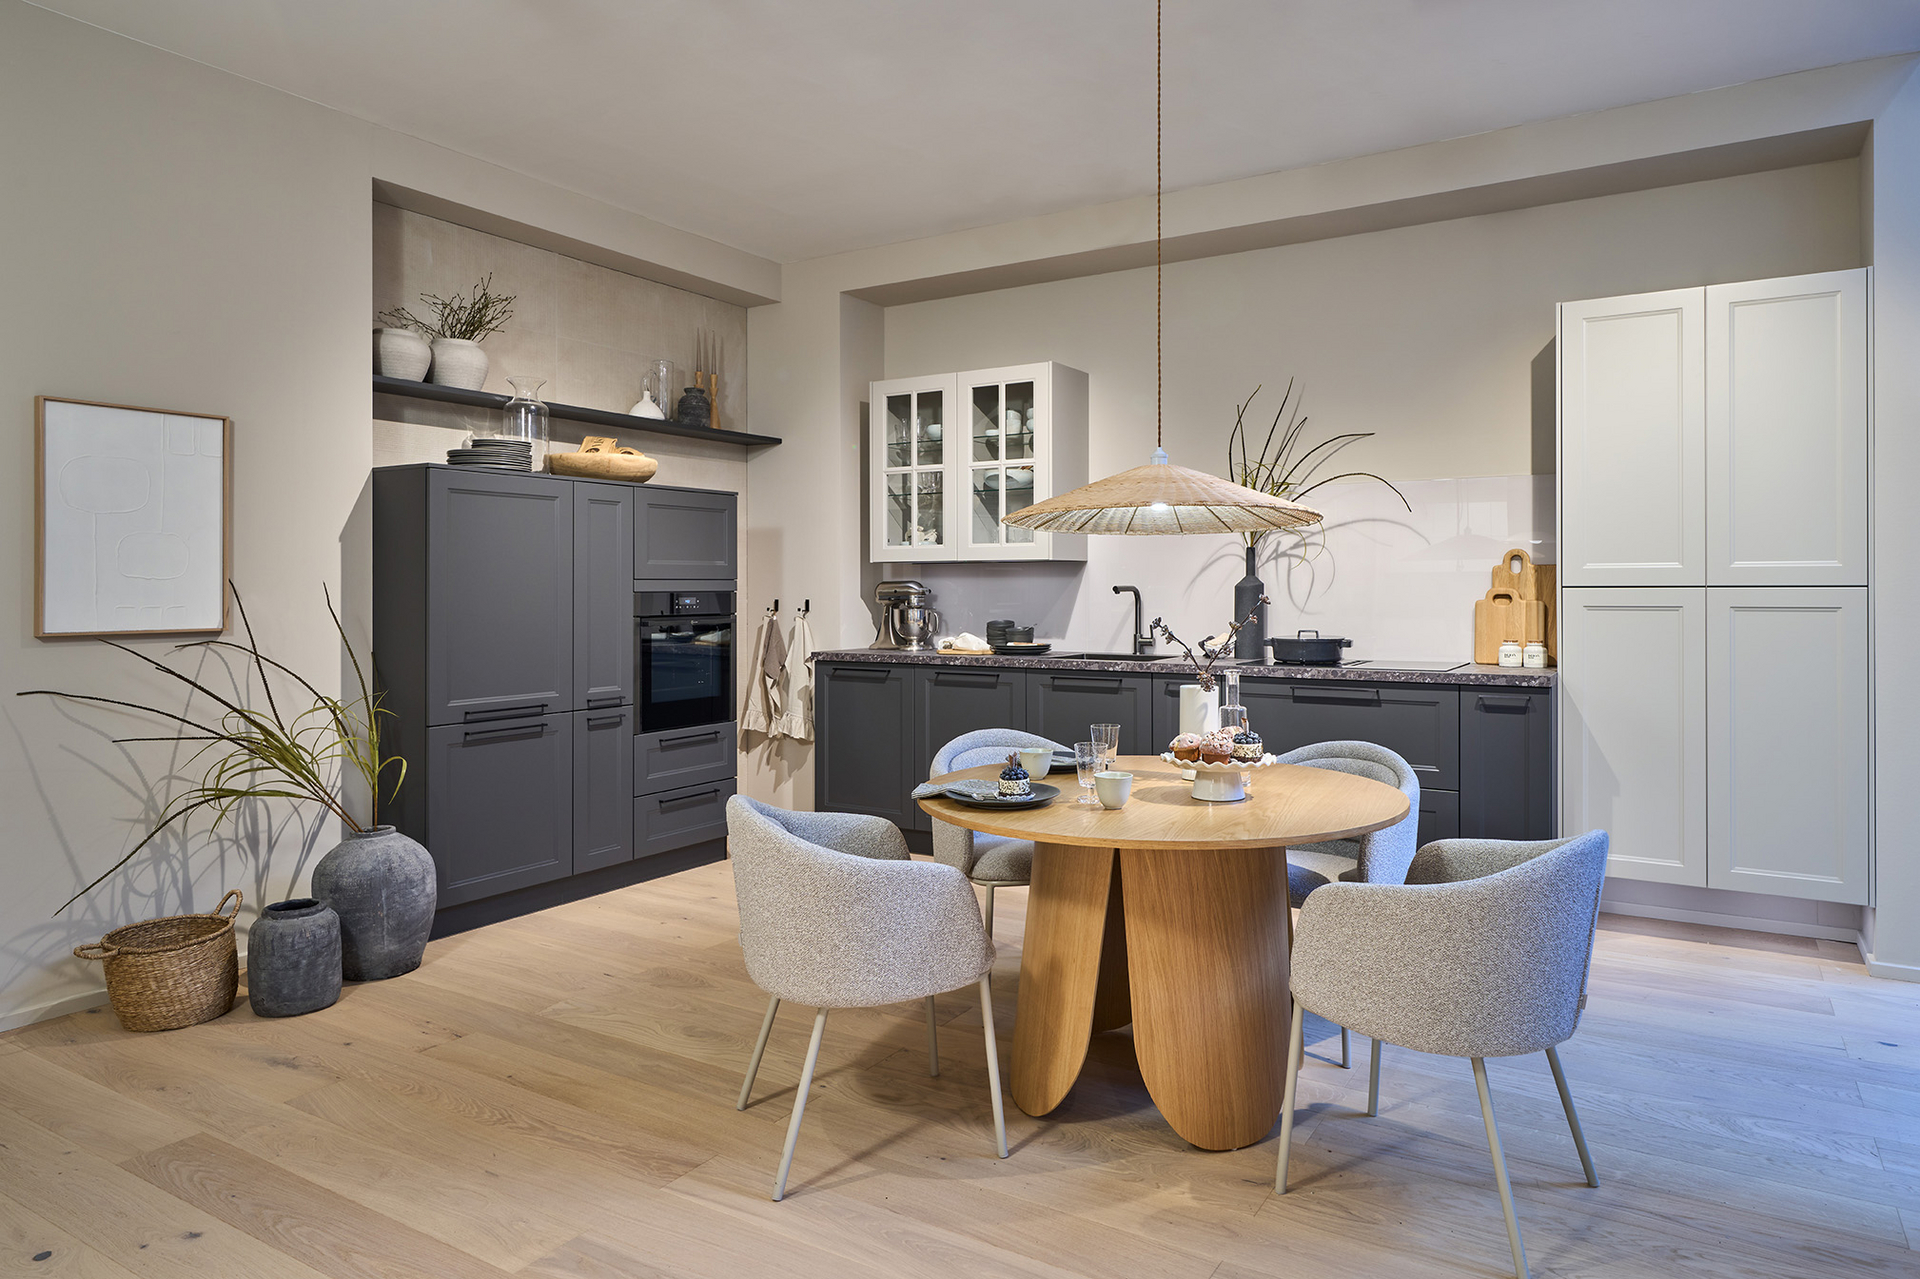
The most important piece of advice for kitchen planning is also the simplest: First, the layout and shape; then, workflow, storage, and lighting; and finally, cabinet fronts and colors. Take your time with the decisions that can hardly be changed later—plumbing connections, countertop height, and traffic flow. You can leave the color and handle choices open until just before placing your order; however, you should determine the location of the water connection early on.
Let us guide you through the next step: Use the dealer locator to find a Häcker specialty dealer near you who can advise you on planning, cabinet fronts, and materials. The “Buying a Kitchen” page describes the process from concept to installation.